Natural Lip Fillers: Results That Look Like You Were Born With Them

Lip fillers natural is one of the most common searches in modern aesthetic medicine, and the search itself tells the story of where lip enhancement is headed. Some patients want lip enhancement that looks subtle, natural, and effortless. They want natural lip fillers that produce natural looking lips, the kind that look fuller and more defined without anyone being able to point to exactly what changed.
Natural-looking lip filler starts with balance. The goal is not to change the lips completely, but to enhance their shape, hydration, and volume in a way that still fits the patient’s facial features. Every choice matters, from the natural lip shape to the type of hyaluronic acid filler used. When the treatment is planned carefully, lip filler can create soft, beautiful results that look refreshed rather than overdone.
The best lip results respect natural beauty instead of replacing it. With the right approach, patients can achieve fuller, smoother, more defined lips while still looking like themselves.
Key Takeaways of Natural Lip Fillers
- Lip fillers treatments with natural look means lip filler that respects the patient’s natural lip shape, facial features, and natural beauty rather than imposing a generic look.
- The natural lip shape includes a defined lip border, a clear cupid’s bow, balanced upper and lower lips, and a smooth transition between the lips and the surrounding skin.
- Add subtle volume gradually rather than chasing dramatic lip volume in one session; this approach consistently produces the most natural feel.
- Topical numbing cream is used to minimize discomfort during the procedure, and precise injections with a fine needle deliver the filler to specific zones of the lip area.
- Mild swelling is normal in the first few days, with the lip filler integrates over one to two weeks to produce the final lip filler results.
- Touch up treatments every nine to twelve months maintain the desired volume while preserving the natural lip shape over years.

What Natural Actually Means in Lip Filler
The word “natural” is used often in aesthetic medicine, but with lip filler, it means something very specific. Natural-looking lip filler should enhance the lips without making them look overfilled, stiff, or out of balance with the rest of the face.
Natural Does Not Mean Untouched
Natural lip filler does not mean the lips look exactly the same as they did before treatment. A natural enhancement can still create visible improvement. The lips may look fuller, smoother, more hydrated, and more defined, but the result should feel harmonious.
The goal is to make the lips look like a refined version of the patient’s own lips. Subtle volume, soft definition, and improved shape all support this approach. The change is noticeable, but it should not look obvious or artificial.
Natural-looking lip filler respects the patient’s original lip shape and facial proportions. Instead of replacing their features, it enhances what is already there.
What Makes Lip Filler Look Unnatural
Unnatural lip filler usually becomes noticeable when the lips no longer match the face. Overfilled lips may protrude too far forward, appear stiff, or look disproportionately large compared with the surrounding features.
Common signs of unnatural lip filler include:
- Lips that look too projected from the side
- A stiff or swollen appearance
- Loss of natural lip borders
- Lips that do not move naturally when speaking or smiling
- Upper lip and lower lips that look out of proportion
- Volume that overwhelms the rest of the face
Natural shape results come from precision, balance, and restraint. The best lip filler results create shape and volume while preserving natural movement, softness, and facial harmony.
Why Some Lip Fillers Look Fake and Others Do Not
Two patients can receive lip filler and end up with very different results. The difference usually comes down to product choice, placement technique, facial balance, and how much volume is added.
Too Much Product Too Quickly
One of the most common reasons lip filler looks unnatural is adding too much volume too fast. Lips have a natural capacity based on their anatomy, shape, tissue quality, and facial proportions. When that limit is exceeded, the lips can begin to look overly projected, stiff, or out of balance with the face.
A conservative approach usually creates the most natural-looking results. Subtle volume can be added gradually, allowing the lips to look fuller, smoother, and more defined without appearing overdone.
Product Choice and Technique Matter
Hyaluronic acid fillers are commonly used for lip enhancement because they can create soft, flexible, natural-looking volume. However, not every filler is designed for the lips. Thicker fillers made for areas like the cheeks or jawline may not create the same soft movement needed in the lip area.
The best lip filler results depend on choosing a product that matches the patient’s lip anatomy and desired outcome. Products designed for subtle definition, hydration, and flexible movement can help the lips look enhanced without looking obvious.
Placement technique is just as important as the filler itself. Natural-looking lip filler should support the patient’s existing lip shape, preserve smooth borders, maintain balanced proportions, and allow the lips to move naturally when smiling, speaking, and resting.
How The Clinic for Plastic Surgery Team Achieves Natural Lip Filler Results in Houston, Texas
Natural-looking lip filler in Houston, TX comes from careful planning, precise techniques, and a deep understanding of facial anatomy. At The Clinic for Plastic Surgery, the goal is to enhance the lips in a way that creates soft volume, smooth lines, and balance with the patient’s other facial features.
Advanced Injection Techniques
Natural lip filler requires more than simply adding volume. The treatment depends on choosing the right filler, selecting the correct injection depth, and placing small amounts in specific areas of the lips.
The lip border, lip body, cupid’s bow, and corners of the mouth may each require a different approach. Our skilled injectors use precise techniques to improve shape, hydration, definition, and fullness while helping patients avoid an overdone appearance.
A thoughtful technique also means knowing when to stop. Adding too much filler in one session can make the lips look unnatural, even when the product itself is high quality. The best results come from creating subtle lip enhancement that respects the patient’s natural lip shape and unique facial proportions.

The Strategy of Micro-Dosing
Micro-dosing uses very small amounts of filler across multiple placement points. This approach allows the filler to blend smoothly with the surrounding tissue and create soft volume that looks natural.
For some patients, the best result develops gradually over more than one appointment. Building volume slowly can make all the difference for patients who want plump lips without an obvious “done” look.
Temporary swelling can occur after treatment, so final results should be evaluated once the lips have settled. With the right treatment plan, patients can achieve natural looking results and facial enhancement that feels refined, balanced, and believable.
Choosing the Right Filler for a Natural Look
Not every dermal filler is designed for lip enhancement. The product selected can make all the difference between soft, natural-looking lips and an overdone appearance. For most patients, hyaluronic acid fillers are the preferred choice. They can add shape, hydration, and volume while still allowing the lips to move naturally.
Why Hyaluronic Acid Fillers Are the Standard
Hyaluronic acid is a naturally occurring substance found in the body, including the skin and lips. Because of this, hyaluronic acid fillers tend to blend smoothly with the surrounding tissue and create a soft, natural feel.
These fillers can help restore volume, improve lip definition, smooth lines, and create a plumper, more hydrated appearance. They are also commonly used because they offer precise control, making it possible to create anything from subtle enhancement to fuller lips while still respecting the patient’s natural lip shape.
For patients who want natural looking enhancement, the goal is not simply to add volume. The goal is to choose a filler that supports the lips without making them look stiff, heavy, or out of balance.
Matching the Product to the Patient’s Goals
Different hyaluronic acid fillers can be used for different lip goals. A softer filler may be selected for subtle definition, hydration, and smooth lines, while a more supportive filler may be considered when the patient wants more noticeable volume.
Some patients want a very soft, barely noticeable enhancement. Others want plump lips that still look elegant and natural. The best filler choice depends on the patient’s existing lip shape, facial proportions, and how much volume the lips can support without creating duck lips or an overdone appearance.
Natural lip filler is always individualized. The right product, placed with precise techniques, can help patients achieve natural looking results that enhance the lips while keeping the overall face balanced.
Maintaining Lips That Still Look Like Yours
Lip augmentation is not about one dramatic treatment. Long-term results come from conservative planning, thoughtful maintenance, and preserving the patient’s original lip shape.
Timing Touch-Up Treatments
Most patients schedule lip filler touch-ups every nine to twelve months, depending on how quickly their body metabolizes the product from their first lip filler appointment. Refreshing the lips before the filler fully fades can help maintain soft volume with smaller, more subtle adjustments.
This approach keeps the lips looking consistent over time instead of creating sudden changes. The goal is to preserve natural-looking fullness, smooth lines,, and balanced proportions.
Keeping Natural Beauty Over Time
Natural lip filler should enhance the lips without making them dominate the face. As facial features change with age, maintenance treatments can help the lips stay soft, hydrated, and proportionate.
The best long-term natural shape results come from restraint. Each treatment should support the patient’s natural beauty rather than chase more volume.
Frequently Asked Questions About Natural Lip Fillers: Results That Look Like You Were Born With Them
What makes lip fillers look natural?
Lip fillers results come from a combination of factors: using fillers in conservative amounts, applying advanced and precise injection techniques that respect the natural lip shape. Also, building the result gradually over multiple sessions rather than chasing dramatic change in one appointment. Natural looking lips emerge from this thoughtful approach to lip enhancement.
How much filler is needed for a natural look?
Most patients need less filler than they think for a natural look. A first lip filler appointment typically uses one syringe or less, with subtle volume distributed across the lip area to add subtle volume. Many patients reach their desired volume over two or three sessions rather than a single appointment. The right treatment uses conservative amounts as a starting point and adjusts based on how each patient responds. Less is often more in natural lip dermal fillers work.
How long do natural lip fillers last?
hyaluronic acid based fillers in the lips last six to twelve months. Touch up treatments every nine to twelve months help maintain the desired outcome and natural lip shape consistently. Some HA fillers specifically formulated for the lips, like Restylane Kysse, may last slightly longer than other products. The exact duration depends on metabolism, lifestyle, and the specific HA filler used.
Will lip filler change how my lips move?
Properly placed lip filler should not significantly affect how the lips move. Natural movement and natural expression are preserved with the right product and good technique. Lip filler integrates with the surrounding tissue and allows the lips to smile, talk, and express emotion without restriction.
Conclusion and Summary of Natural Lip Fillers: Results That Look Like You Were Born With Them
Natural lip fillers represents a fundamental shift in how patients approach lip enhancement today. The goal is no longer dramatic volume but rather natural lip enhancement that flatters the existing face rather than replacing features. Hyaluronic acid based fillers and advanced injection techniques produce results that look like the lips the patient was born with, only slightly better. Lips that retain their natural movement, expression, and natural appearance during everyday life are the hallmark of work done well.
The path to genuinely natural lip filler results requires the right combination of product, and patient mindset. Conservative volumes, gradual enhancement across multiple sessions, and ongoing touch up treatments produce results that age gracefully alongside the rest of the face. For patients seeking lip enhancement that respects their natural beauty rather than overwriting it, modern lip fillers offer one of the most rewarding cosmetic options available today. Many patients enjoy lips that look authentically beautiful for years, all without ever looking like they had work done.

Your Trusted Destination for Lip Fillers and Lip Enhancement in Houston, Texas (TX)
Are you located in one of these Houston Metro Area cities?
Houston, The Woodlands, Sugar Land, Katy, Pearland, Pasadena, League City, Baytown, Conroe, Cypress, Spring, Kingwood, Humble, Missouri City, Friendswood, Bellaire, Clear Lake, Tomball, Galveston, Richmond, Rosenberg, Stafford, La Porte, Deer Park, Seabrook, Webster, Alvin, and Channelview.
Board-Certified Plastic Surgeon Dr. Sam Sukkar, MD, FACS, and The Clinic for Plastic Surgery Team provide advanced lip filler and non-surgical lip enhancement treatments for women and men seeking fuller, smoother, more youthful-looking lips with natural-looking results.
If you are concerned about thin lips, volume loss, lip asymmetry, lipstick lines, or lips that no longer feel youthful and hydrated, we offer customized lip enhancement options, including:
- Lip Fillers for Natural-Looking Volume
- Juvederm® Lip Enhancement Treatments
- Restylane® Lip Fillers and Lip Definition
- Lip Border and Cupid’s Bow Enhancement
- Hydration and Lip Smoothing Treatments
- Correction of Lip Asymmetry
- Subtle Lip Augmentation for First-Time Patients
- Full Lip Makeover and Facial Balancing Treatments
- Personalized Lip Filler Treatment Plans
Visit our modern 18,000+ sq. ft. plastic surgery center and med spa in Houston, Texas, designed for comfort, privacy, and results-driven care. From your consultation through your treatment plan, our highly skilled team focuses on balanced enhancement, facial harmony, and soft, natural-looking lip results.
For patients outside the Houston area or those with limited availability, schedule a virtual lip filler consultation.
Book Your Personalized Lip Filler Consultation today at DrSukkar.com or call (281) 940-1535.
About the Author – Meet Dr. Sam Sukkar, MD
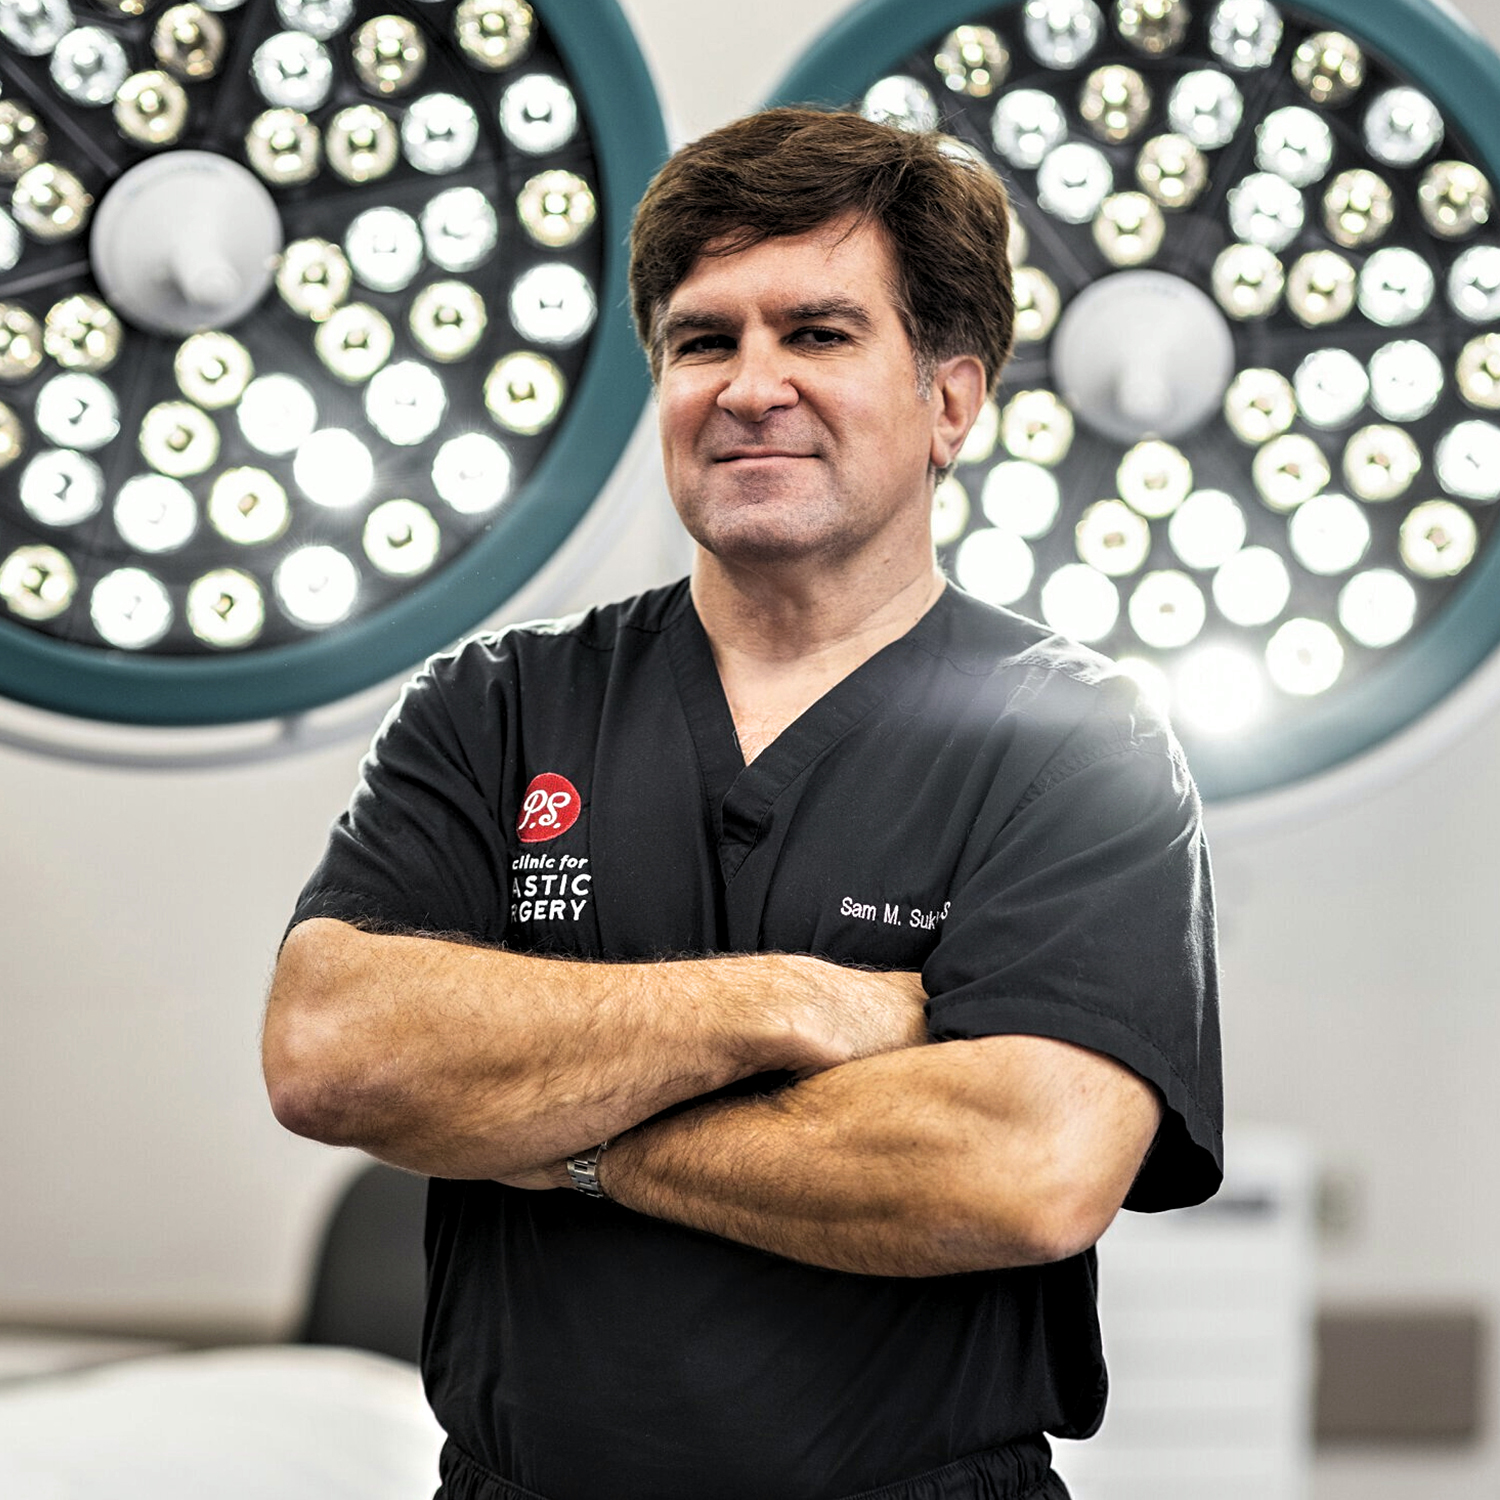
Dr. Sam Sukkar, MD, FACS is a highly respected Board-Certified Plastic Surgeon in Houston, Texas, known for his expertise in advanced cosmetic and reconstructive procedures. As the founder of The Clinic for Plastic Surgery, Dr. Sukkar has set a new standard for excellence, performing over 20,000 procedures with a focus on delivering natural, refined results.
Dr. Sukkar earned his Doctor of Medicine (M.D.) degree from Louisiana State University School of Medicine in 1992 after graduating summa cum laude with a Bachelor of Science in Microbiology. He then completed an intensive General Surgery Residency at the University of Texas Hermann Hospital before being selected for a highly competitive Plastic Surgery Fellowship at Northwestern University in Chicago, one of the most prestigious training programs in the country.
With more than 20 years of experience, Dr. Sukkar is a Diplomate of the American Board of Plastic Surgery and a Fellow of the American College of Surgeons (FACS). He is also an active member of the American Society of Plastic Surgeons (ASPS) and the Houston Society of Plastic Surgery (HSPS). His dedication to innovation and continuing education has solidified his reputation as a leading expert in aesthetic surgery, specializing in breast surgery, body contouring, facial procedures, and non-invasive treatments.
Dr. Sukkar’s expertise has been recognized by Houston Magazine, naming him one of Houston’s “Top Docs for Women,” and he has been featured among RealSelf’s America’s Top Doctors. Committed to his patients, he prioritizes personalized care, ensuring every individual feels informed, comfortable, and confident in their aesthetic journey.
Contact Dr. Sukkar today to schedule a consultation, visit DrSukkar.com to learn more, or call us directly at (281) 940-1535.
Cover Image Illustration by: Dr. Sam Sukkar, MD, The Clinic for Plastic Surgery.